What Should I Be Doing with My Baby the First 6 Weeks? A Pediatric Chiropractor and IBCLC's Perspective
/
Congratulations on your new bundle of joy! The first six weeks with your newborn can be both exhilarating and overwhelming. As a pediatric chiropractor, lactation consultant (IBCLC) and mom, I’m here to share some friendly advice on how to make the most of this precious time. Frequent questions I get asked include “When should I start tummy time?” “What are the first milestones we are working on?” “What do I need to watch out for?”. Let's dive into simple activities you can do with your baby that support their development and well-being.
Tummy Time
Tummy time is crucial for developing your baby’s neck and shoulder muscles. It’s what sets them up to learn to roll and then crawl. In the first four weeks, your little one will have limited head control and can only see about 8-9 inches away, so don't worry if they seem a bit wobbly. You don’t need to lay them flat on the floor! Elevate their upper body using a Boppy pillow, a wedge pillow, or some couch cushions to create a gentle incline.
By weeks 4 to 8, you should notice your baby can lift their head to about 45 degrees and look in different directions without dragging their nose. Aim for 1-5 minute sessions of tummy time at a time. By the end of month three, we want to work up to a total of 60 minutes per day.
And guess what? Time spent with baby laying on your chest counts too! You can make these moments active by stacking their little elbows under their shoulders to help them lift their head. Breastfeeding in a reclined position encourages your baby to work on keeping their head up—bonus tummy time!
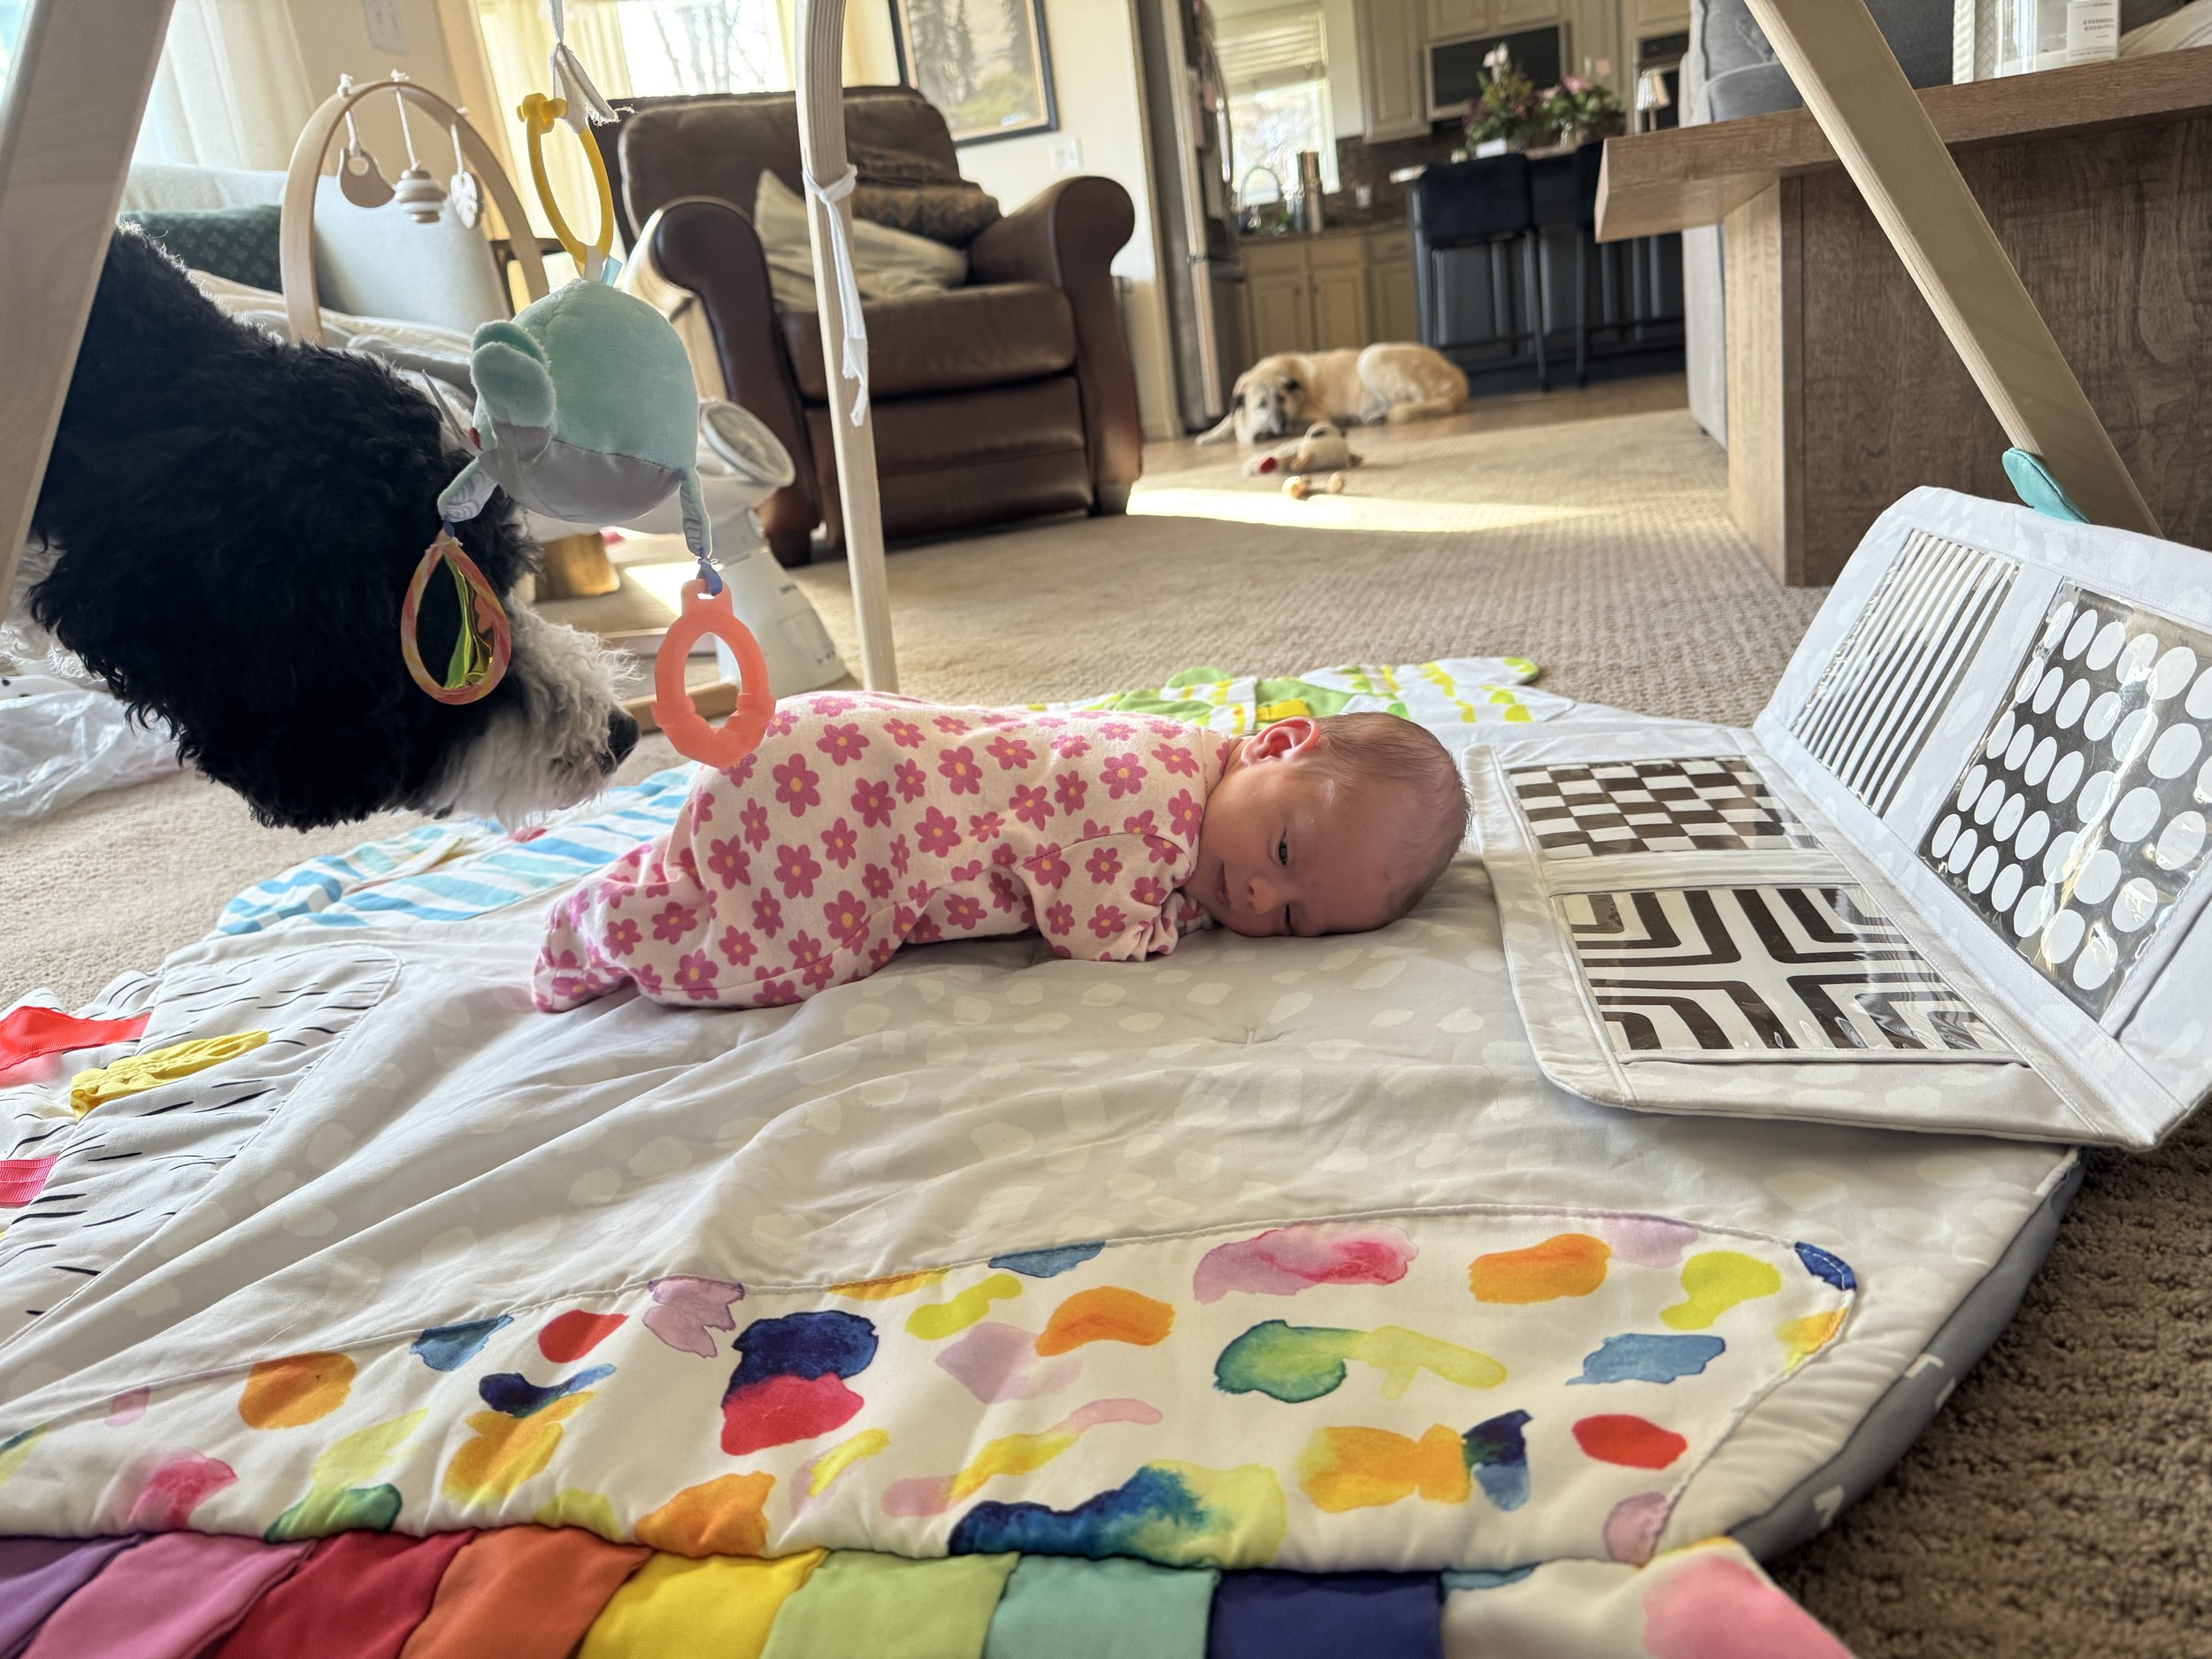
Playtime
Don’t forget to incorporate side-lying time and back-lying time! You can gently prop a pillow behind your baby's back to encourage side lying. Your floor play gym is a great tool, even from week one. While they might not be able to see or interact with those fun dangly toys just yet, it’s vital for their development to have opportunities for free movement.
As your baby grows, they’ll start to bring their hands to the midline, a key milestone around three months. Help them along by showing them how to clap their hands and gently guiding their little hands together.
Visual Tracking
Engaging your baby’s vision is another important aspect of these early weeks. Use contrast cards to encourage visual tracking by moving the cards in all directions. Visual tracking and head and neck control go hand in hand. Visual tracking is not only important for exploring the world, but also a necessary skill for rolling, crawling and interacting with you!
Feeding!!!
For the first 6 weeks, feeding should arguably be our biggest focus. Breastfeeding is often considered baby’s first milestone. There are so many amazing benefits of breastfeeding including the nutrition and immune system support it provides, reduction of certain cancer risks in both mom and baby, reduced risk of postpartum depression, quicker recovery from childbirth, and developing oral motor skills which set the foundation to eating solids and speech. Breastfeeding is a natural thing, but does not always come naturally. Feeds every 2-3 hours are a big job. The first 6 weeks is the time to learn your baby’s hunger cues, experiment with different nursing pillows and feeding positions. Consider introducing paced bottle feeding with a slow flow nipple after a couple of weeks if you would like your baby to have the skill to take a bottle. If you would like to try a pacifier, I’d recommend waiting until breastfeeding is well established, and using a pacifier designed for breastfed babies.
Keep an eye out for signs of feeding issues, such as clicking or smacking sounds, excessive gassiness, nipple pain or concerns around milk supply. If you notice these, don’t hesitate to reach out for help.
Healing, Bonding and Community Support
The first six weeks are also a time for healing your body, and bonding with your new baby. The time for long stroller walks and mommy-and-me workouts will come, but not quite yet! Take advantage of the support from your community—let friends and family bring you a warm meal or watch the baby while you take a much-needed nap. Baby’s gonna be a sleepy little potato for their first month or so on earth, and that’s completely normal and to be expected. Soon enough you’ll be chasing them around. Enjoy all those melt-in-your-arms skin to skin contact naps! Rather than sticking baby in a swing or bouncer every time (try to limit container use to 15 minutes at a time, 1 hour max per day), try out baby wearing when you’d like to throw some laundry in or get dinner going. Babies have a strong need and instinct to be close to their caregiver to form a secure attachment. Bonding with your baby is one of the best things you can do for their long term development.

Keep It Fun!
One piece of advice: don’t stress! These activities should be fun and enjoyable, not just another chore on your to-do list. Don’t let yourself be consumed by the tracking apps. Celebrate every little milestone, whether it’s those big sparkly eyes opening wide or the joy of seeing them lift their head during tummy time. Some days you’ll do more, and some days less. Now that you know what developmental activities you are generally aiming for—balance is key!
A fantastic way to incorporate these activities is through habit stacking. For instance, after a diaper change, flip your baby onto their tummy for a quick session of tummy time. Babies often enjoy their diaper change mat! Another idea is to read a book while lying on the floor side by side. This is a wonderful way to get that floor time in while bonding and encouraging their early love for stories.
Common Flags to Watch Out For
As you enjoy these early days, keep an eye out for a few common issues:
- Head Turn Preferences: It’s common due to uterine positioning and birth. If not addressed, it can lead to head flattening or delays in milestones.
- C-Shaped Body Positioning: When on their back, does your baby lay straight or curve to one side?
- Feeding Troubles: Do they show a preference for one breast or experience pain while feeding? Is breastfeeding painful or inefficient?
- Discomfort: If your baby seems to hate the car seat, tummy time, or specific positions, they may be experiencing discomfort due to joint restrictions, tension and feeding issues.
Early intervention is key! Addressing these issues now will set the stage for a smoother first year full of smiles and achieving all their milestones. I think every mom and baby should have a skilled lactation consultant and bodyworker on their team from day 0. We would love to be a part of your team.
Remember, it’s all about balance, connection, and having fun. Cherish these moments, and don’t hesitate to reach out if you need support—you're not alone in this sweet and messy adventure!
Happy parenting!

